
Automating Image Transfer from Windows to Ubuntu Using SSH and Cron Jobs
In today's world, automating repetitive tasks is essential to save time and increase productivity. One common task that can be automated is transferring files between systems. For instance, if you are generating images on a Windows PC and need to regularly transfer them to an Ubuntu desktop for processing or storage, automating the transfer can be a game-changer.
In this blog post, I will walk you through the process of automating the transfer of images from a Windows machine to an Ubuntu system using SSH, SCP, and cron jobs.
Why Automate Image Transfer?
Automating the process of image transfer can be incredibly useful in many situations:
- Save time: Manual transfer is tedious and time-consuming, especially if the task needs to be repeated frequently.
- Consistency: Automation ensures that files are transferred at regular intervals without human intervention.
- Reliability: Scheduled transfers are less prone to errors compared to manual handling.
Let’s dive into the steps to set this up!
Prerequisites
Before starting, here’s what you’ll need:
- Ubuntu Desktop: A Linux machine running Ubuntu (or any other Linux distribution) to receive the images.
- Windows PC: A Windows machine where the images are generated.
- SSH Server on Windows: This tutorial assumes that you have an SSH server set up on the Windows machine (using something like OpenSSH for Windows).
- sshpass installed on the Ubuntu machine:
sshpassis used to provide the password for SSH in the script, so the transfer can happen automatically.
Step 1: Set Up SSH on the Windows PC
To allow the Ubuntu machine to connect to the Windows PC over SSH, we need to set up an SSH server on the Windows system. Here’s how you can do it:
-
Open Settings on your Windows PC and go to Apps > Optional Features.
-
Scroll down and click on Add a feature.
-
Search for OpenSSH Server and click Install.
-
After installation, open PowerShell as Administrator and run the following command to start the SSH service:
Start-Service sshd -
To ensure the service starts automatically on boot, run:
Set-Service -Name sshd -StartupType 'Automatic'
Now your Windows machine is ready to accept SSH connections!
Step 2: Configure the Ubuntu Desktop to Receive Files
Next, we’ll set up the Ubuntu machine to receive files from the Windows system. To automate the image transfer, we’ll use SCP (Secure Copy Protocol).
-
Install sshpass:
On your Ubuntu desktop, you need to installsshpass, which is a tool for non-interactively passing a password to an SSH command.sudo apt update sudo apt install sshpass -
Create a script:
Let’s create a bash script that will automatically transfer the images from the Windows PC to the Ubuntu machine.Open a terminal on your Ubuntu desktop and create the file
sync_images.sh:nano ~/sync_images.shAdd the following script, which ensures the destination directory exists, then uses
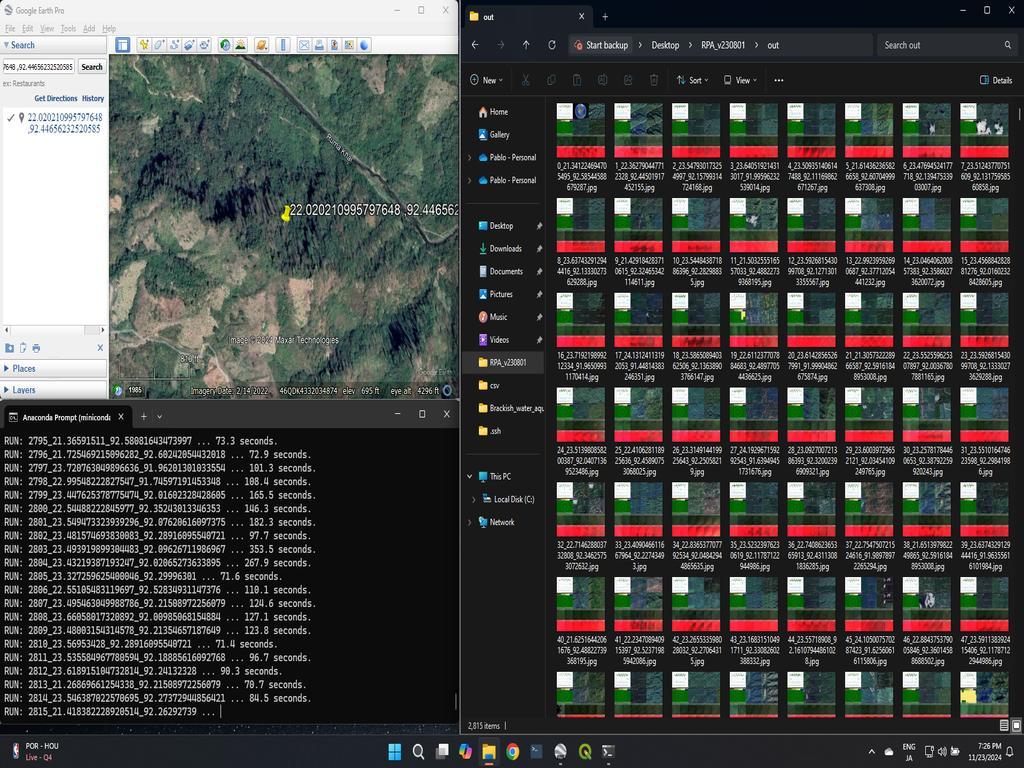
sshpassandscpto transfer the images:#!/bin/bash # Ensure the destination directory exists mkdir -p /media/manik/TWOTB/RIL_Images/AutomaticTransfer/Single_crop/ # Windows password (replace with your actual password) PASSWORD="your_password_here" # SCP command to transfer images sshpass -p "$PASSWORD" scp -v -pr [email protected]:"C:/Users/THUJA/Desktop/RPA_v230801/out/*.jpg" /media/manik/TWOTB/RIL_Images/AutomaticTransfer/Single_crop/In this script:
- The
mkdir -pcommand ensures that the destination directory exists on your Ubuntu system. sshpass -p "$PASSWORD"supplies the password to SSH without requiring manual input.scp -v -pris used to recursively copy the images and show verbose progress.
Note: Replace
your_password_herewith the password of the Windows user (in this case,thuja), and adjust the source directory accordingly. - The
-
Make the script executable:
Now make the script executable:chmod +x ~/sync_images.sh
Step 3: Automating the Transfer with Cron
Now that we have the script in place, let’s automate it using cron. A cron job allows you to run scripts at scheduled times.
-
Edit the crontab:
To add a cron job, use thecrontab -ecommand:crontab -eThis will open the crontab editor. If this is your first time using cron, you will be prompted to choose an editor. The easiest option for beginners is to choose nano.
-
Add a cron job:
In the editor, add a new cron job that runs the script at a specified time. For example, to run the script every day at 2 AM, add the following line:0 2 * * * /home/manik/sync_images.sh >> /home/manik/sync_images.log 2>&1This cron job will:
- Run the script (
/home/manik/sync_images.sh) every day at 2 AM. - Redirect both stdout and stderr to a log file (
sync_images.log) so you can check if the transfer was successful or if any errors occurred.
- Run the script (
-
Save and exit:
In nano, save and exit by pressingCTRL + Oto write the changes and thenCTRL + Xto exit the editor. -
Confirm your cron job:
To make sure the cron job is set up, you can list the current cron jobs with:crontab -lThis will show you a list of all the cron jobs for your user.
Step 4: Testing and Debugging
To ensure everything is working correctly:
-
Test the script manually: Run the script manually to confirm that the transfer works as expected:
~/sync_images.shIf everything is configured correctly, it should transfer the images from your Windows machine to your Ubuntu desktop.
-
Check the log:
If you’ve set up logging in the cron job, check the log file (sync_images.log) to see the output of the transfer:cat /home/manik/sync_images.log -
Cron job logs:
If there are any issues with the cron job, you can check the system logs:grep CRON /var/log/syslog
Conclusion
In this guide, we’ve set up an automated system to transfer images from a Windows PC to an Ubuntu desktop using SSH, SCP, and cron jobs. This solution is flexible, allowing you to schedule transfers to fit your workflow, whether it's running once a day, hourly, or at a custom interval.
Automation like this can save you time and ensure that files are consistently transferred without manual intervention.
Let me know if you need any help with the setup, or if you have additional questions!


0% Positive Review (0 Comments)